I have a very strong "rescue" gene. Nothing brings me more joy than to find something that has seen better days, been abused, neglected, and cast off, envisioning it restored, refurbished or repurposed and hauling it home and getting all dirty making it beautiful! I've been doing it since I was a kid. My home is full of these rescue projects. I give them as gifts. They fill me with satisfaction.
What I didn't know was that my son might also enjoy the process. They needed a new kitchen table and I saw one for free on Facebook Marketplace not far from where he lives - the connection was made and he hauled a table and chairs home. It wasn't too bad at first glance, but a closer look revealed that the top was pretty badly scarred. There was even a word scratched into it by an angry kid at some point in 8-10 inch letters. So we set it up in the garage and all worked on it to sand out the scratches and refinish it. As we were working I told him I had always wanted to have a family business refinishing furniture. The weather was hot and dry and the coats of polyurethane satin finish dried quickly and Bill ended up putting 5 coats on. The next time he talked to me he said he really enjoyed doing it and had always wanted to try woodworking. We discussed juggling the issue that we don't own a house with a garage and how we might work it out to use the tiny one car garage at his condo with parking issues.
We tried moving some things around and parting company with a washer and dryer that had been taking up limited real estate in the garage and discovered we could put projects on one side and still fit his car in the garage. But we would have to move them back and forth when we were working on them.
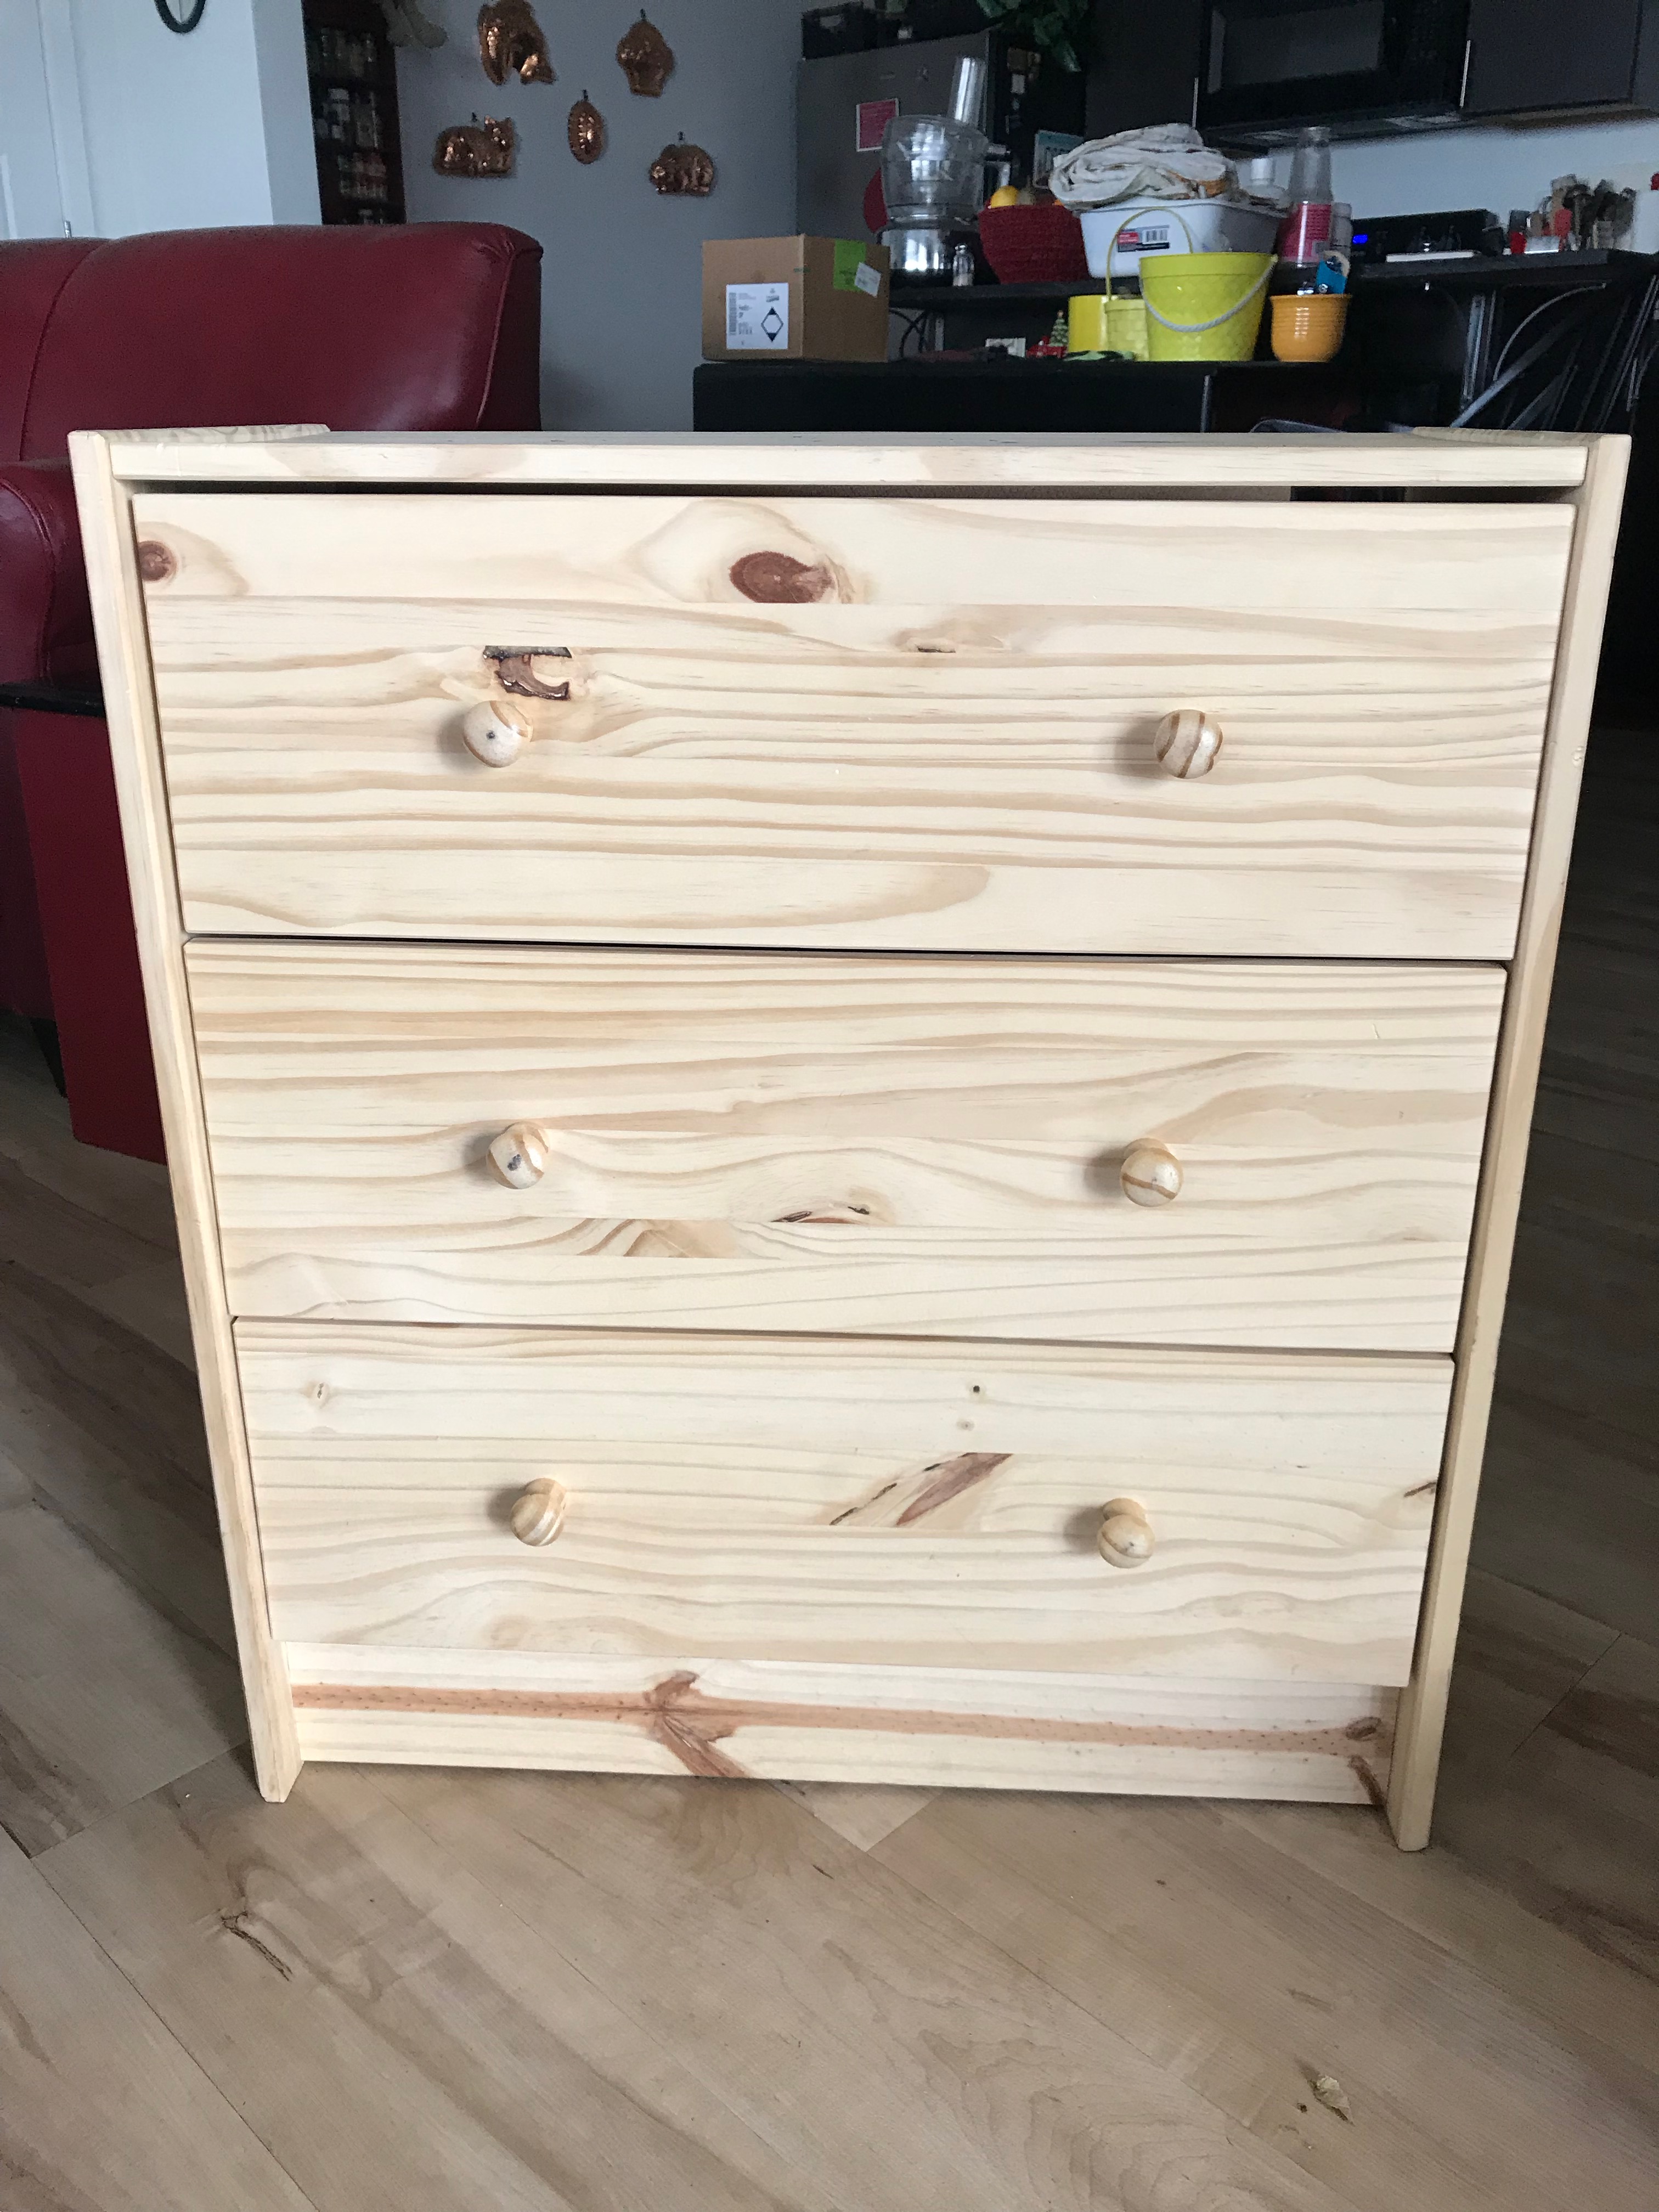
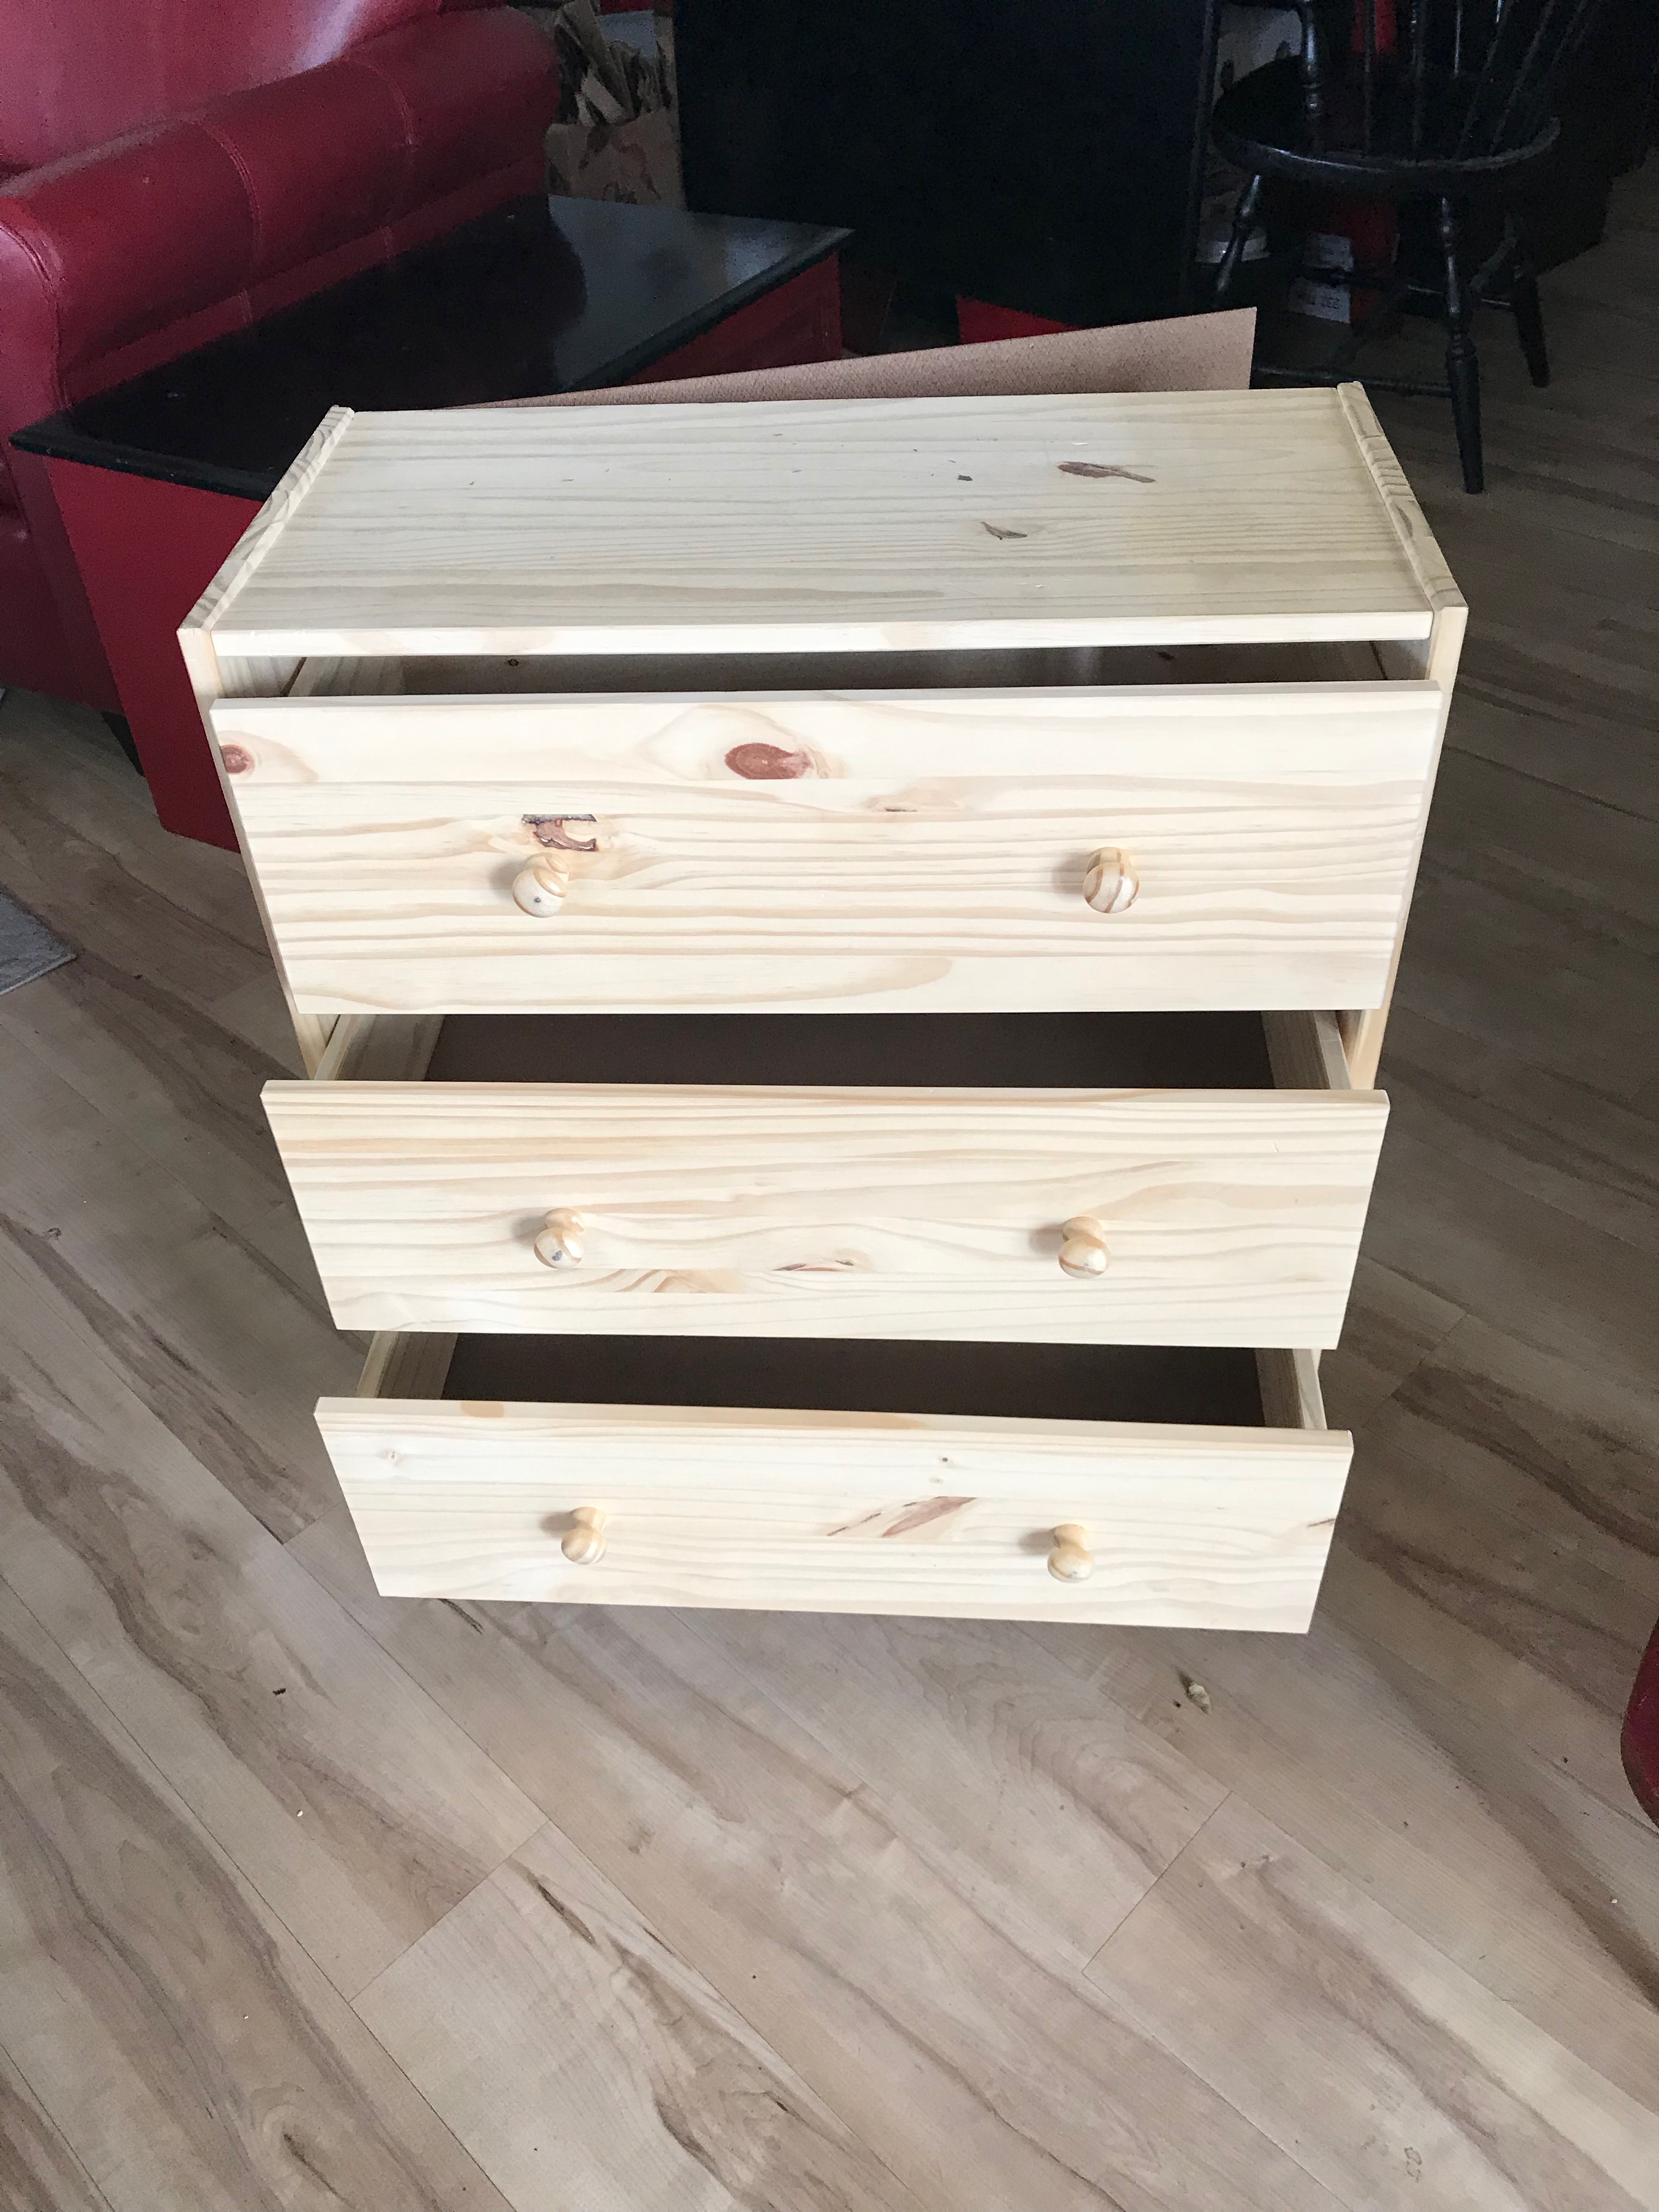
So I went HUNTING for our first project! I already had a little pine dresser I'd been wanting to put in my kitchen to create new storage, so I went ahead and did it so I'd have something to show off my skill.
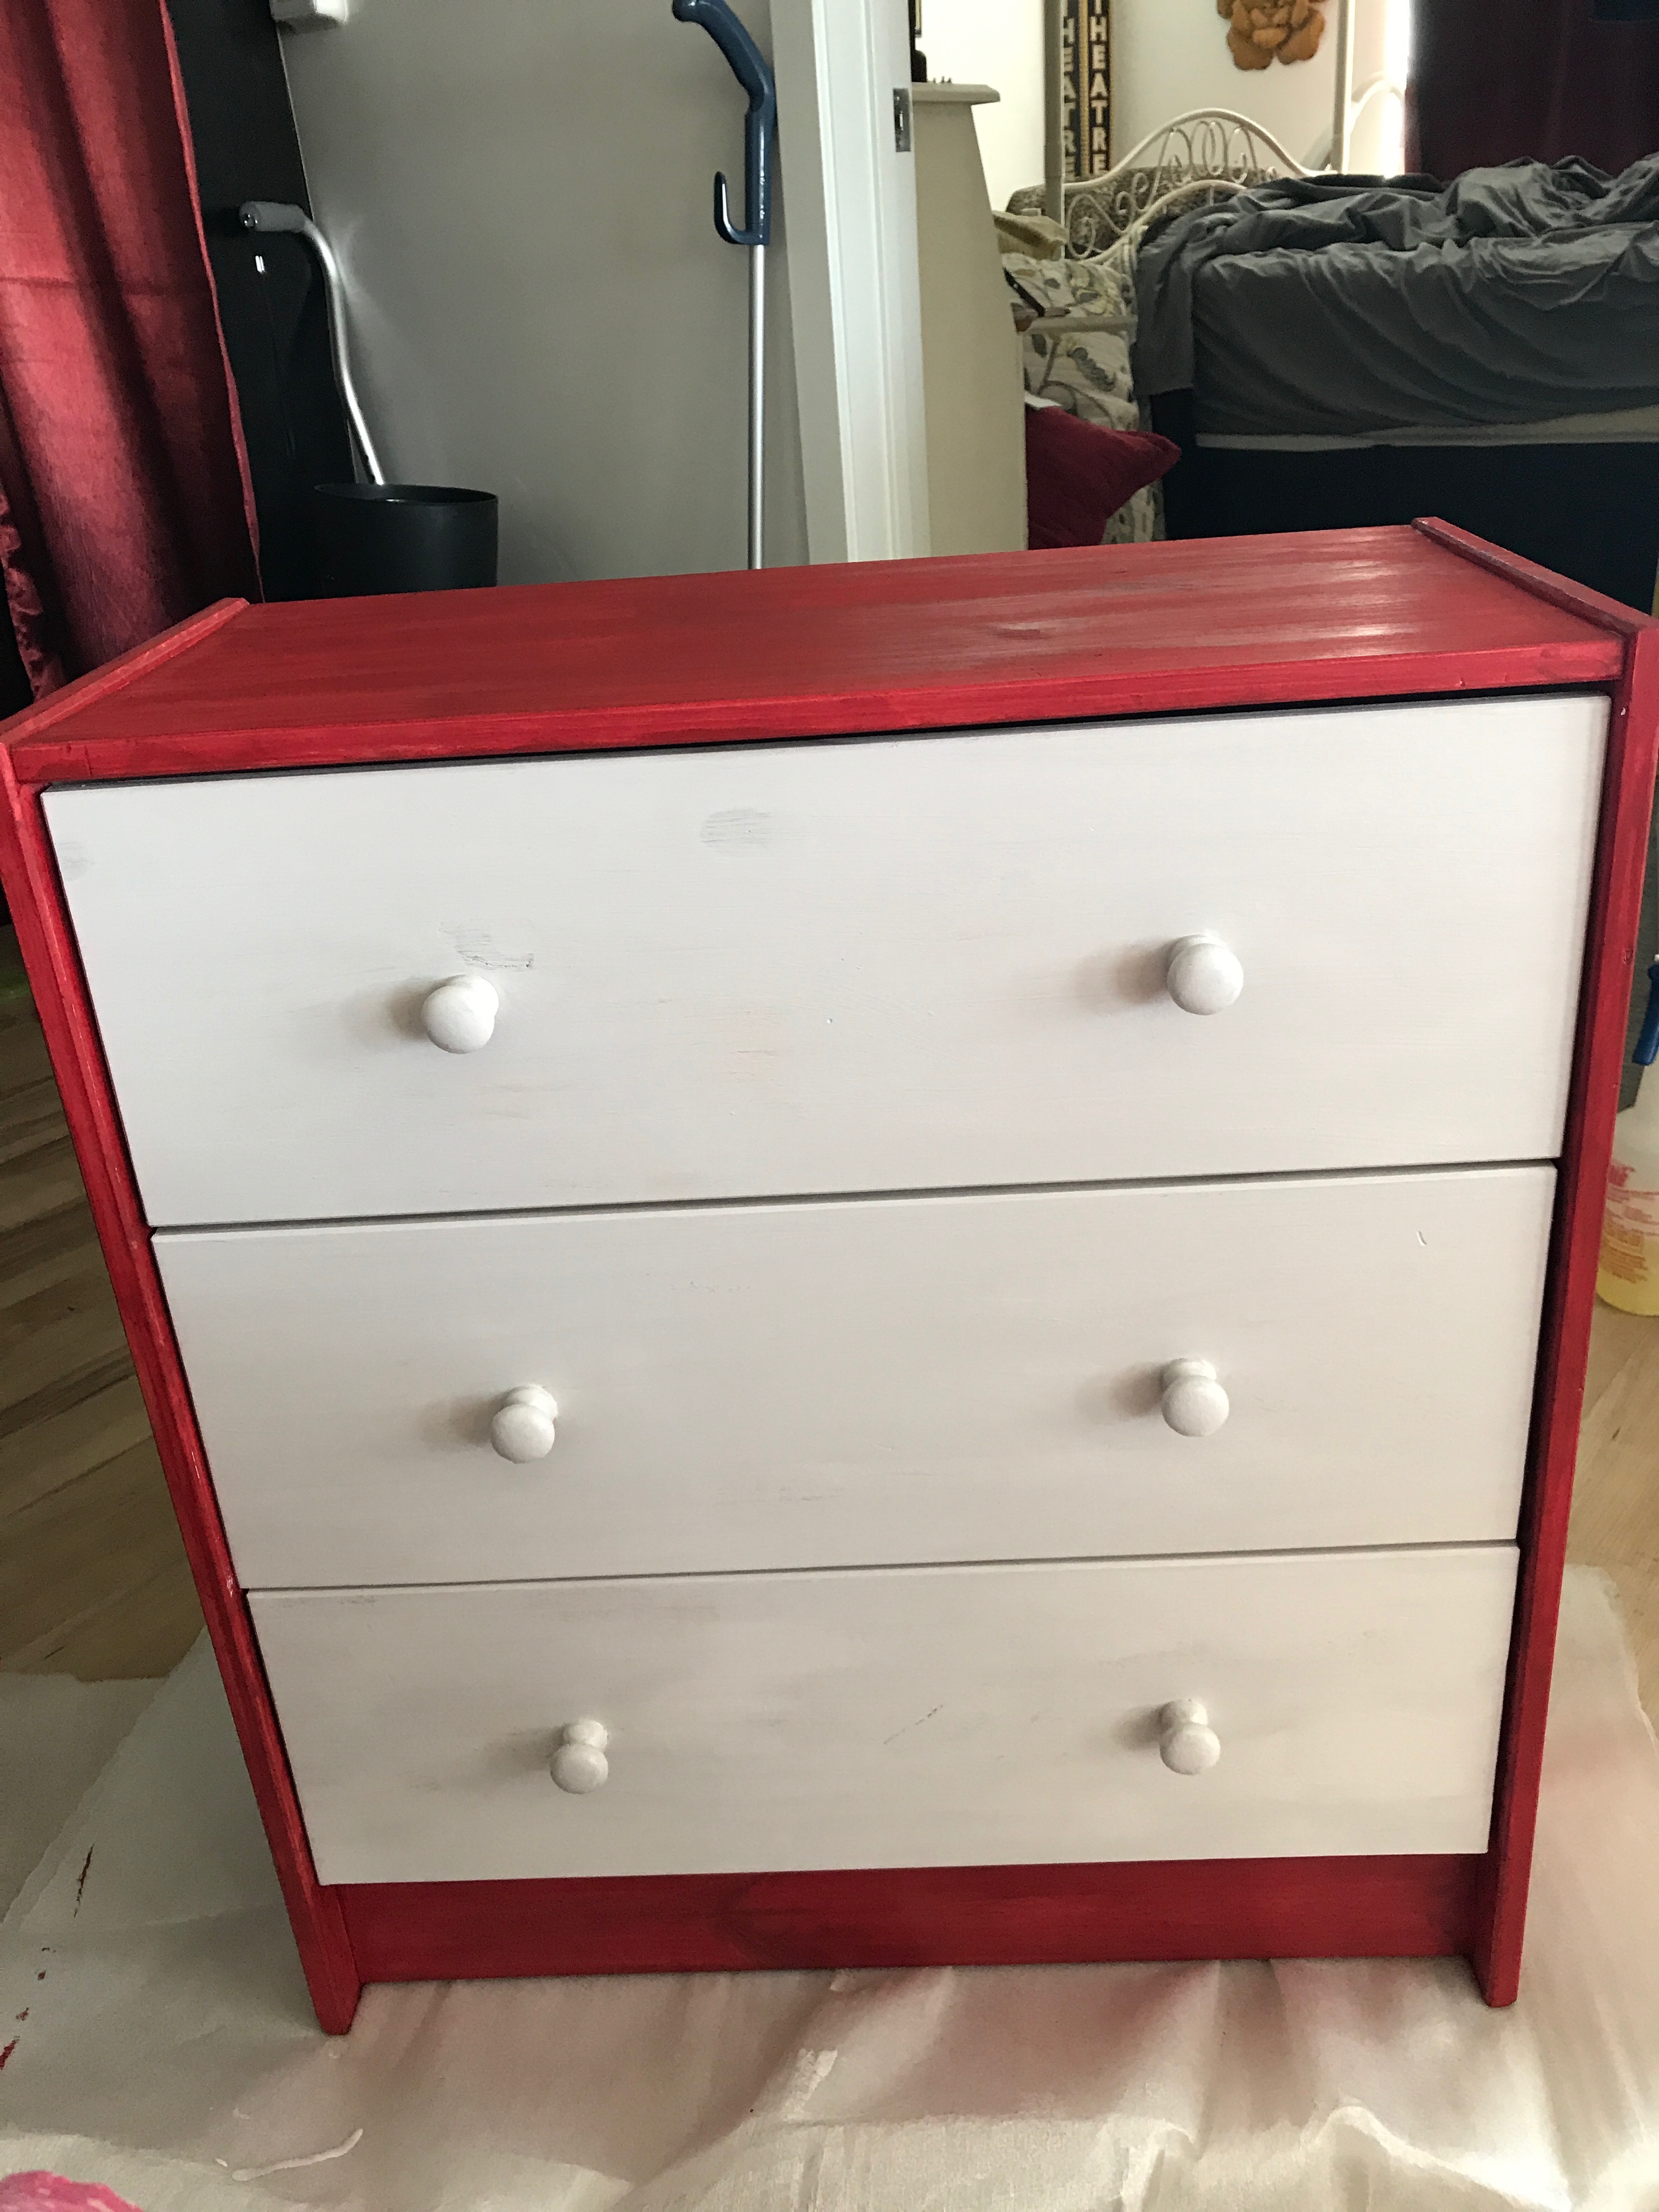
I purchased this off KSL.com for $20. It was in nearly new condition.
I decided to stain it red and paint the drawers a very pale grey.
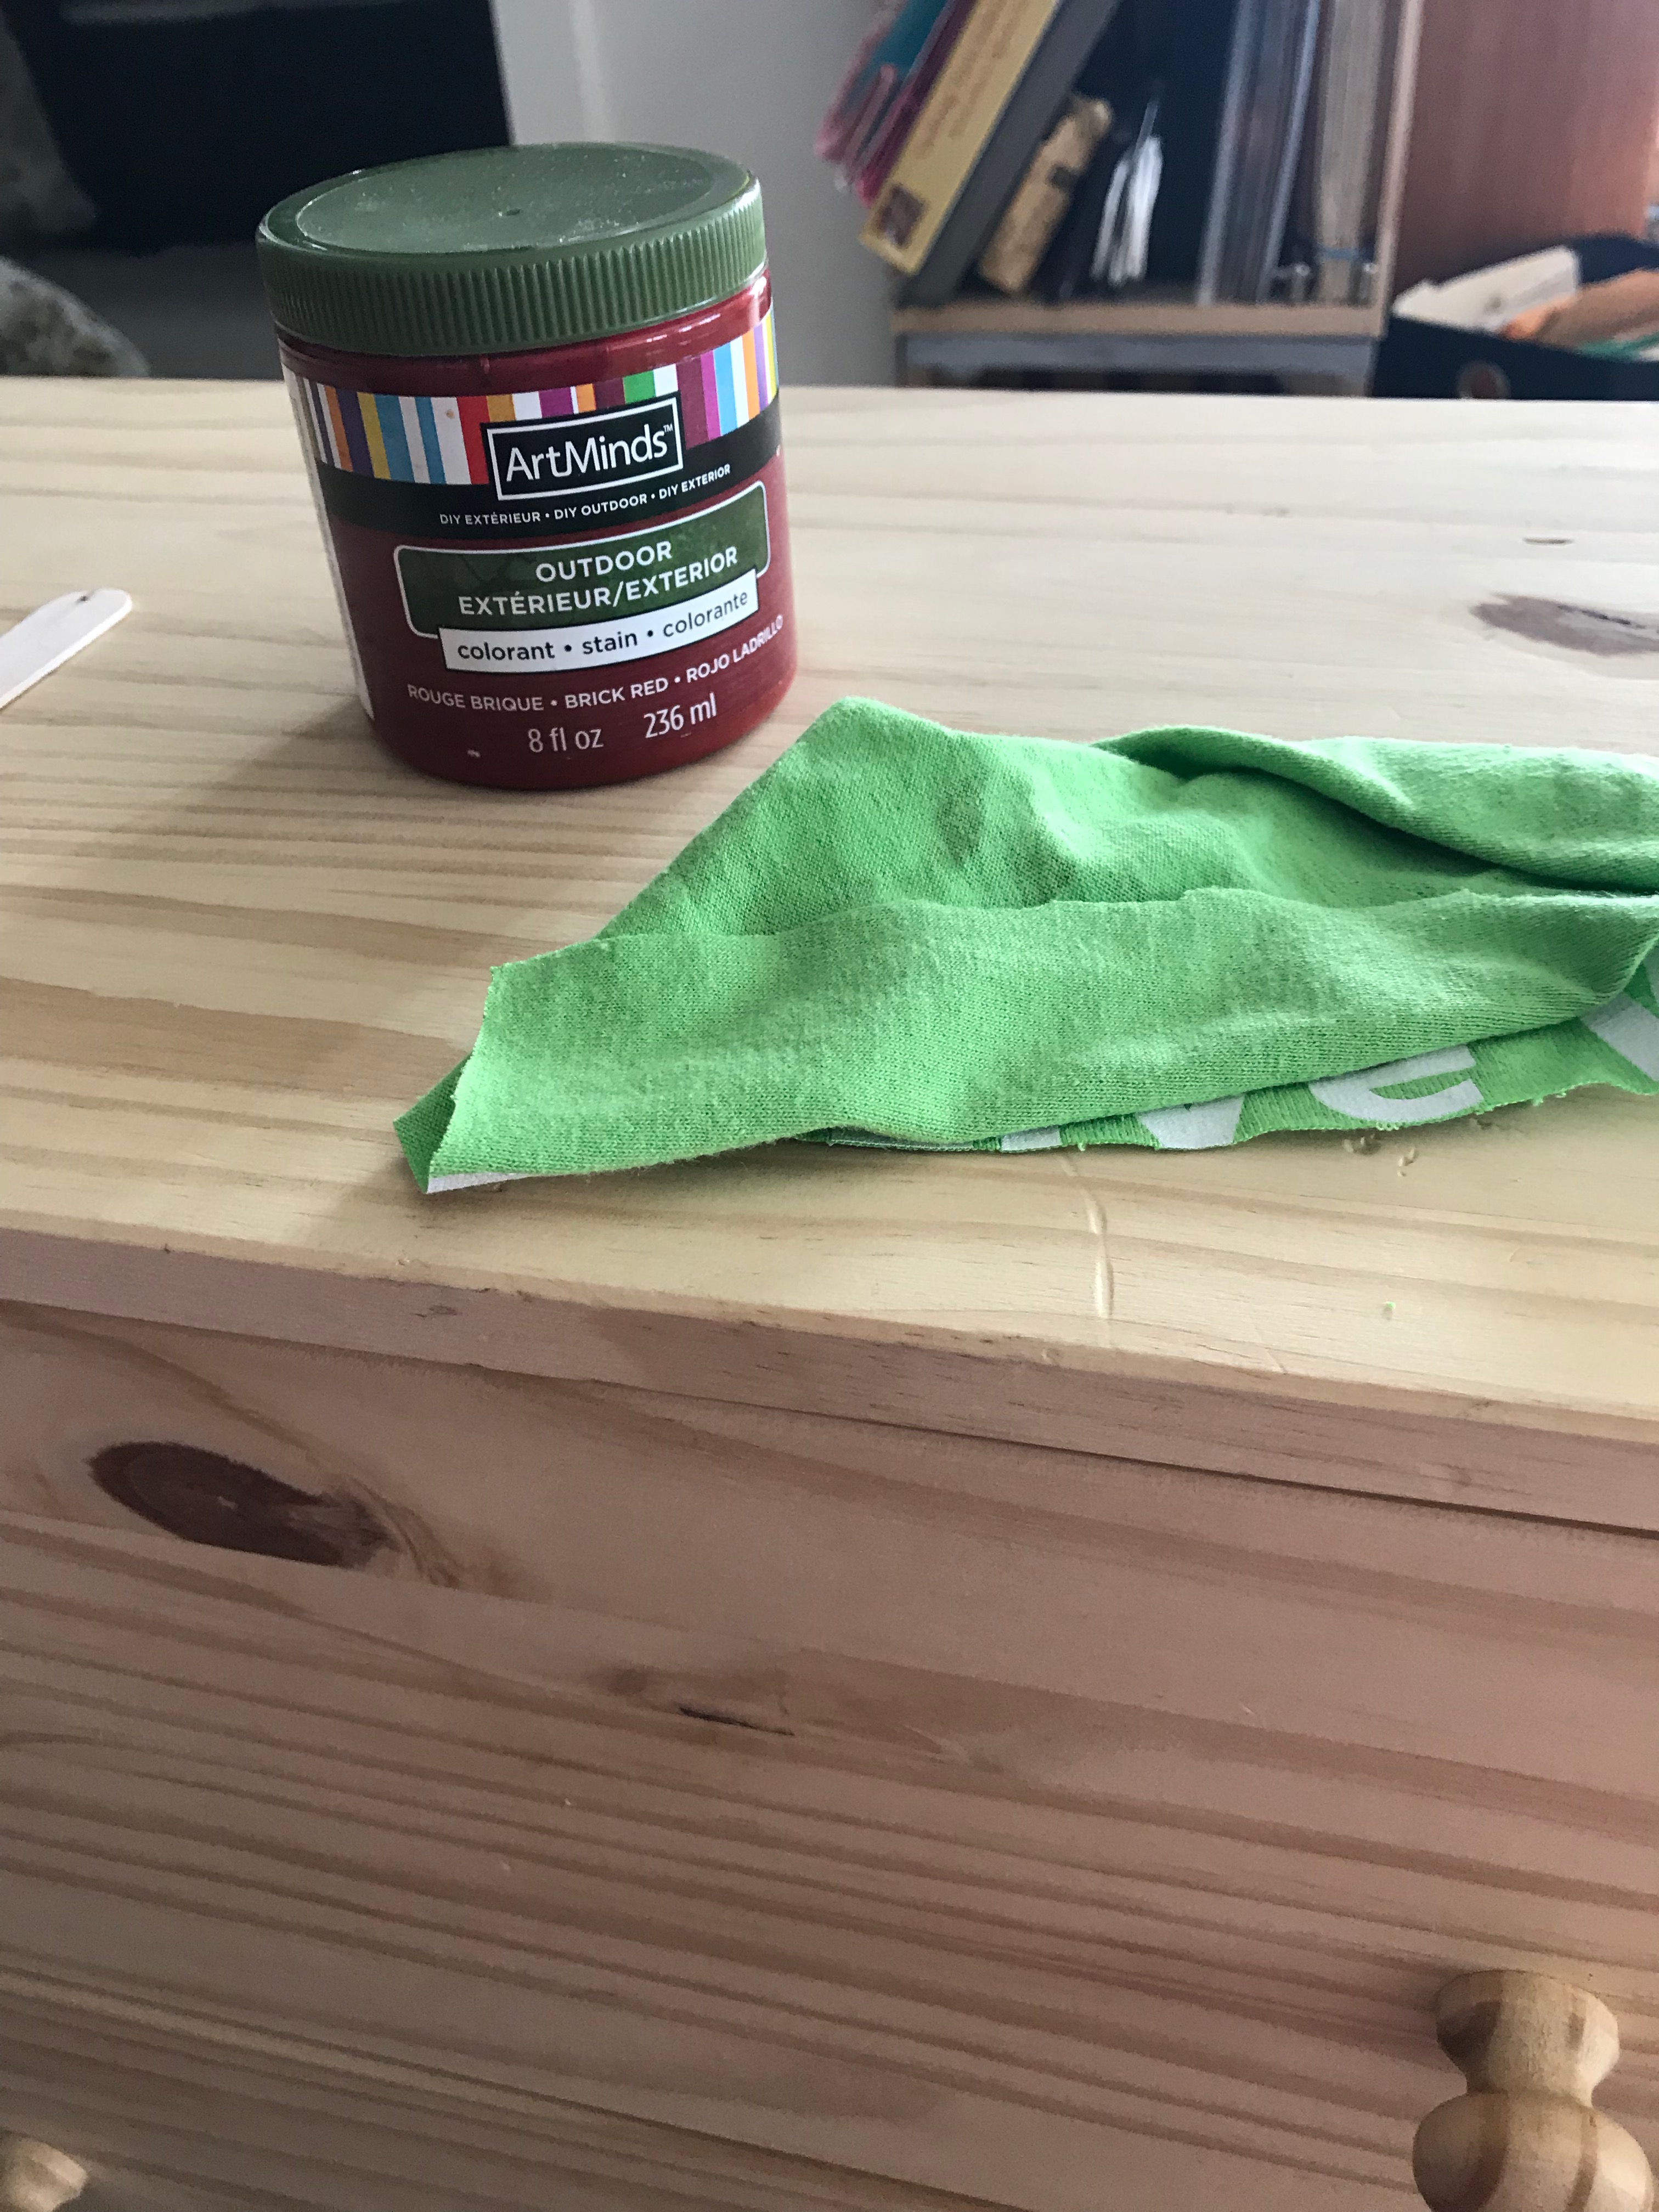
Here it is with the base coat
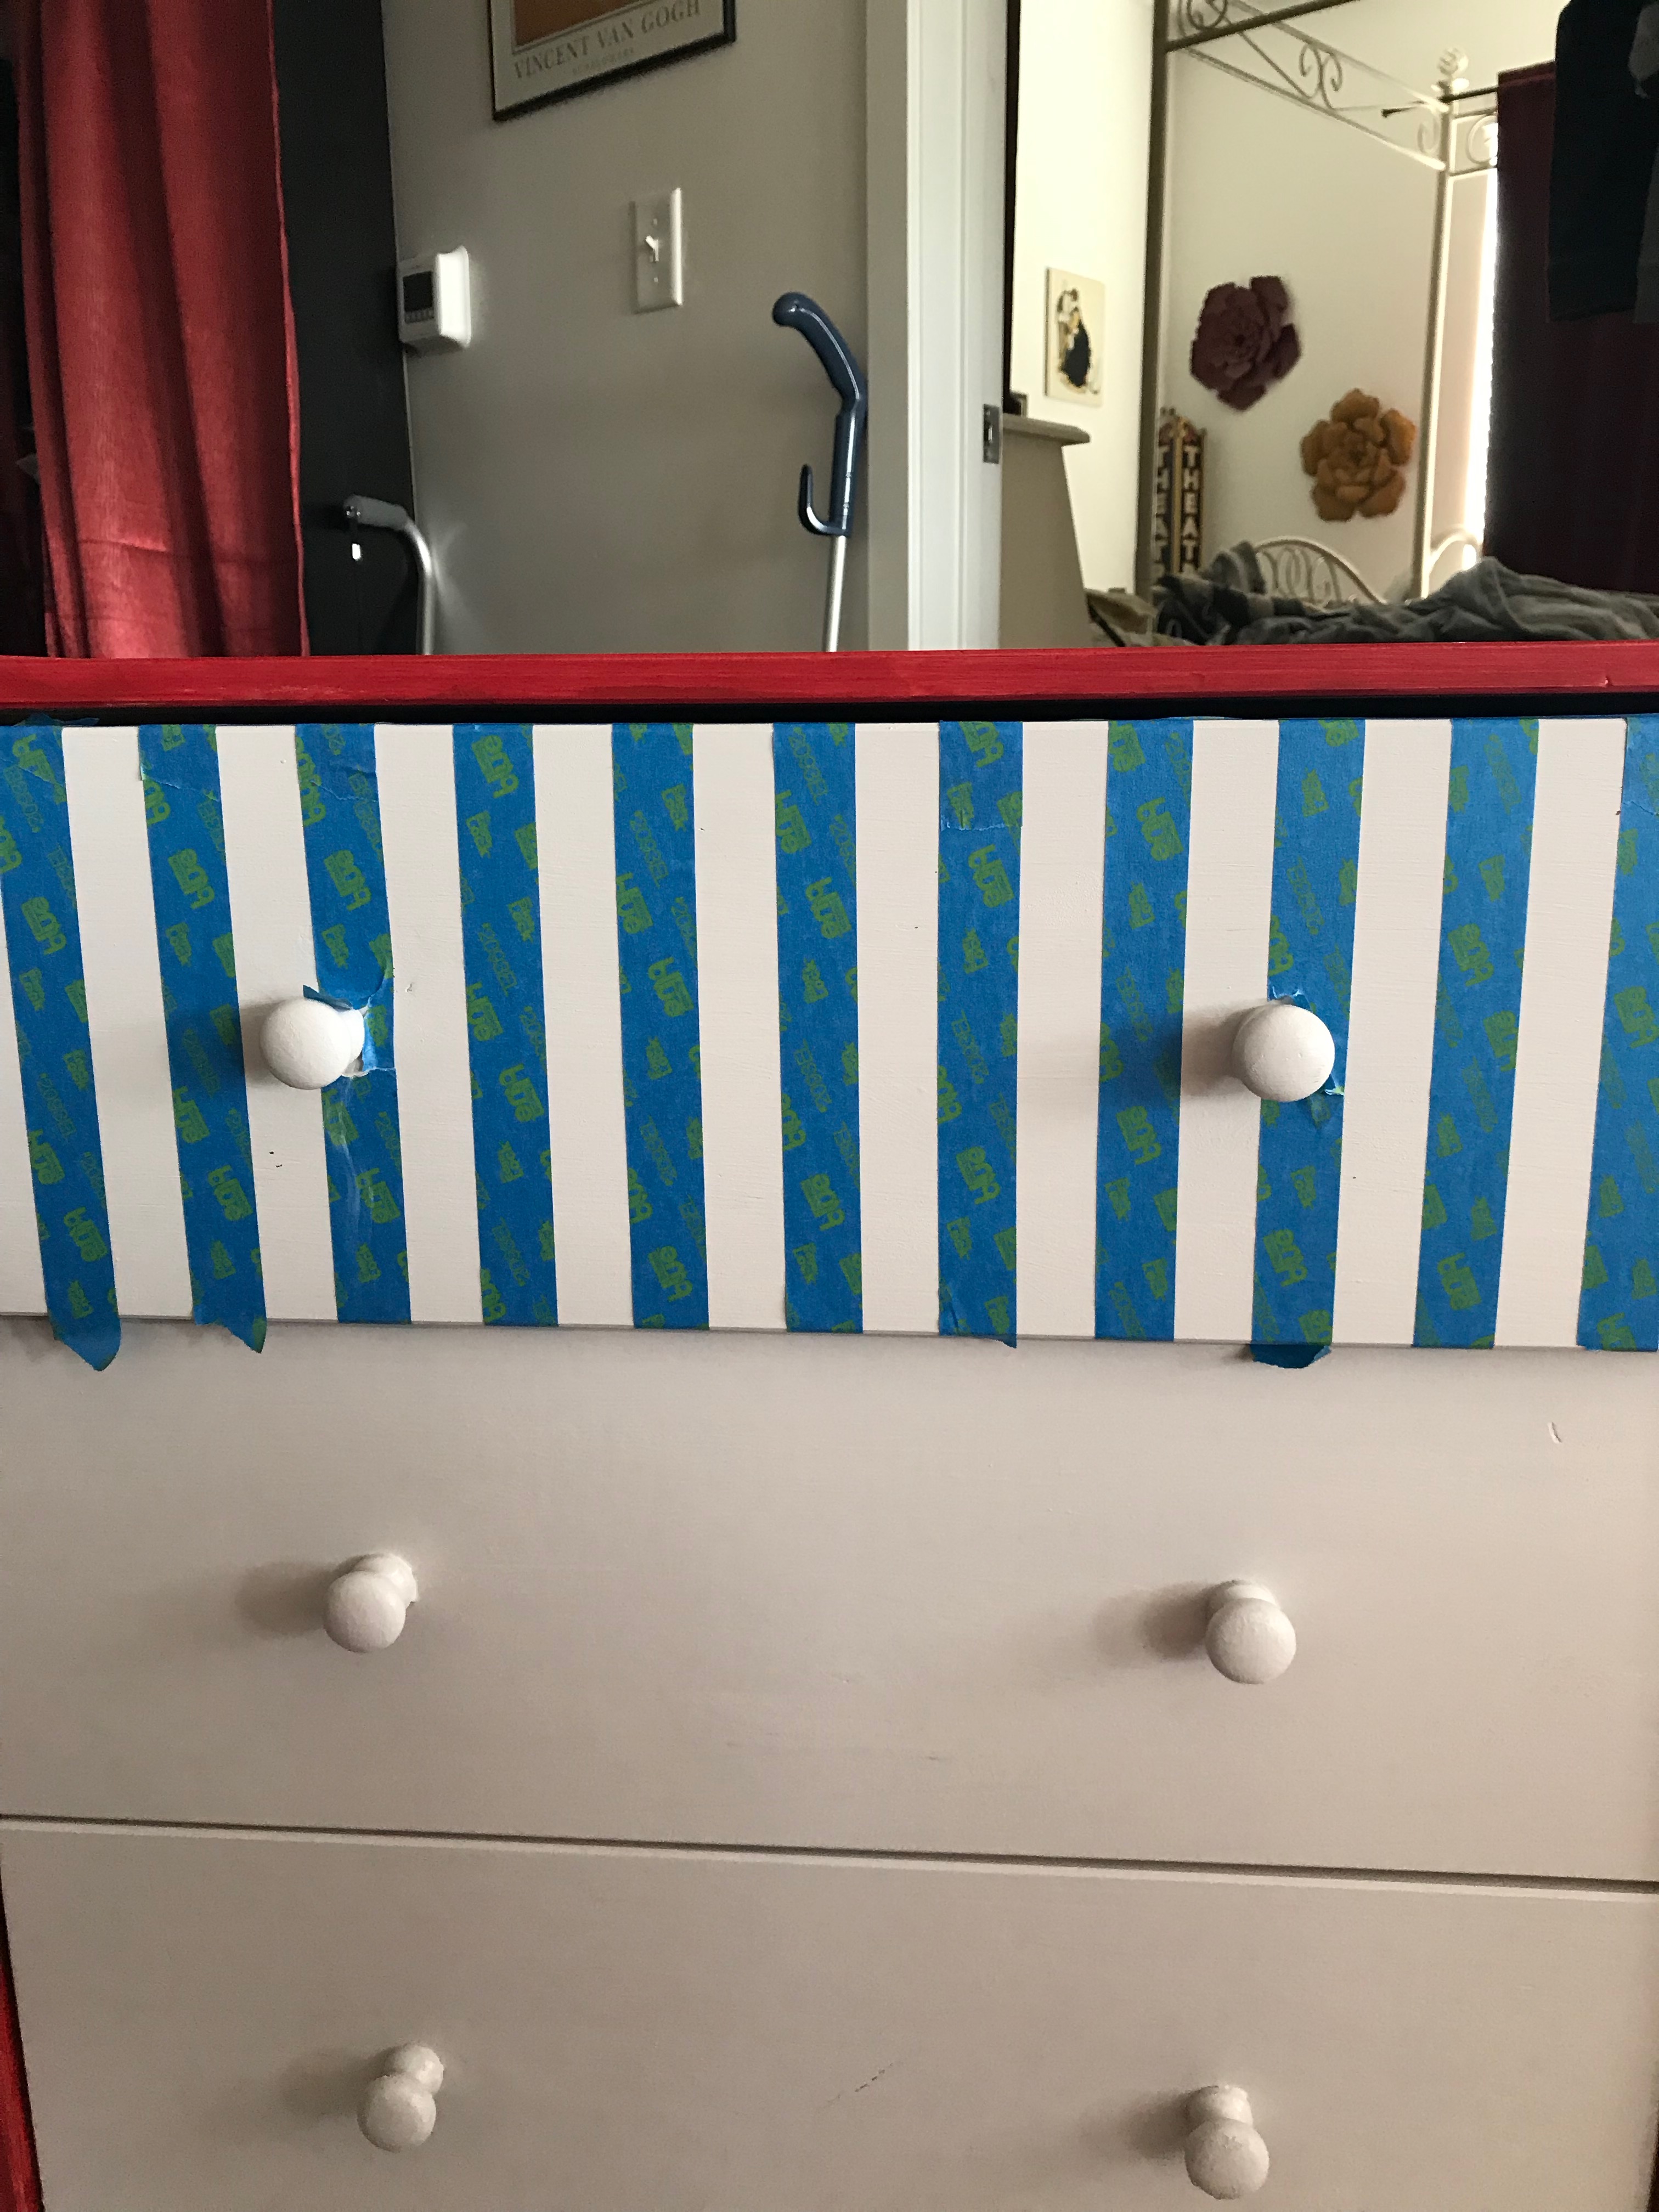
Now for some fun! My home decor is red and black and yellow and gray. I decided to add some black accents, and taped off one of the drawers to add stripes. I didn't really measure or mark anything, tried to eyeball it making the spaces between the tape the same width as the tape and hope I wasn't going crooked.
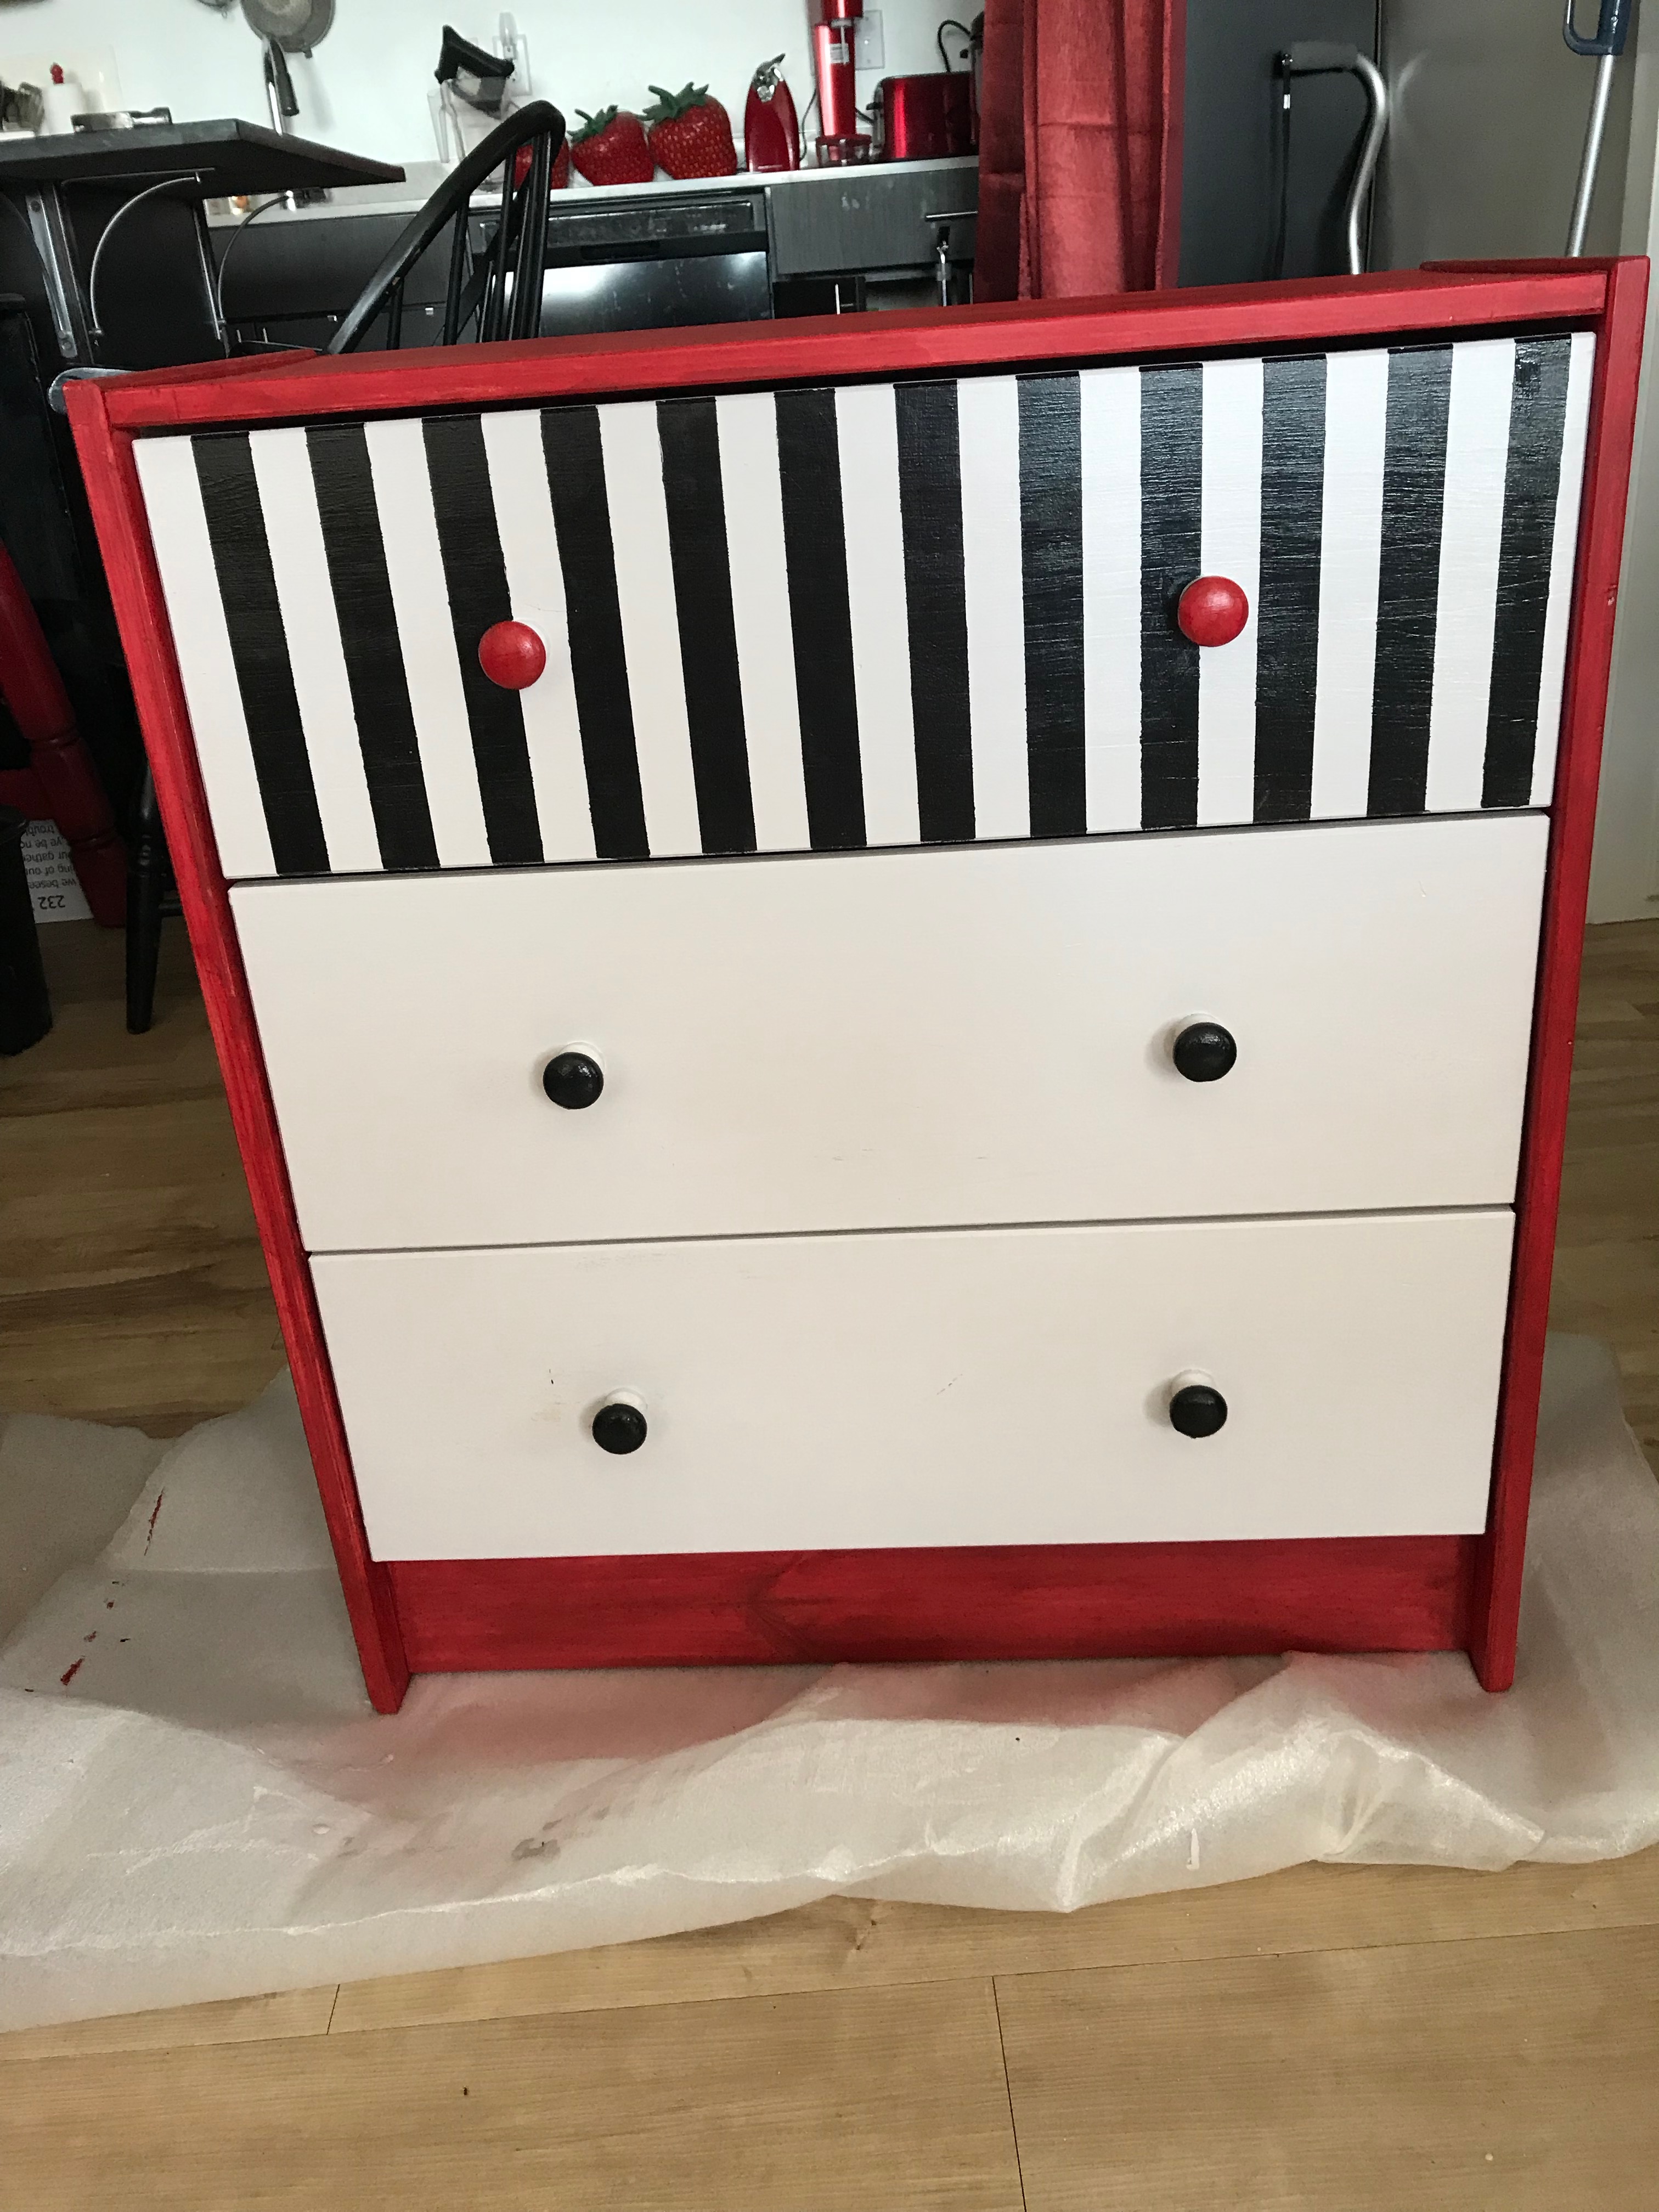
Here it is with the stripes painted black and the knobs painted red or black:
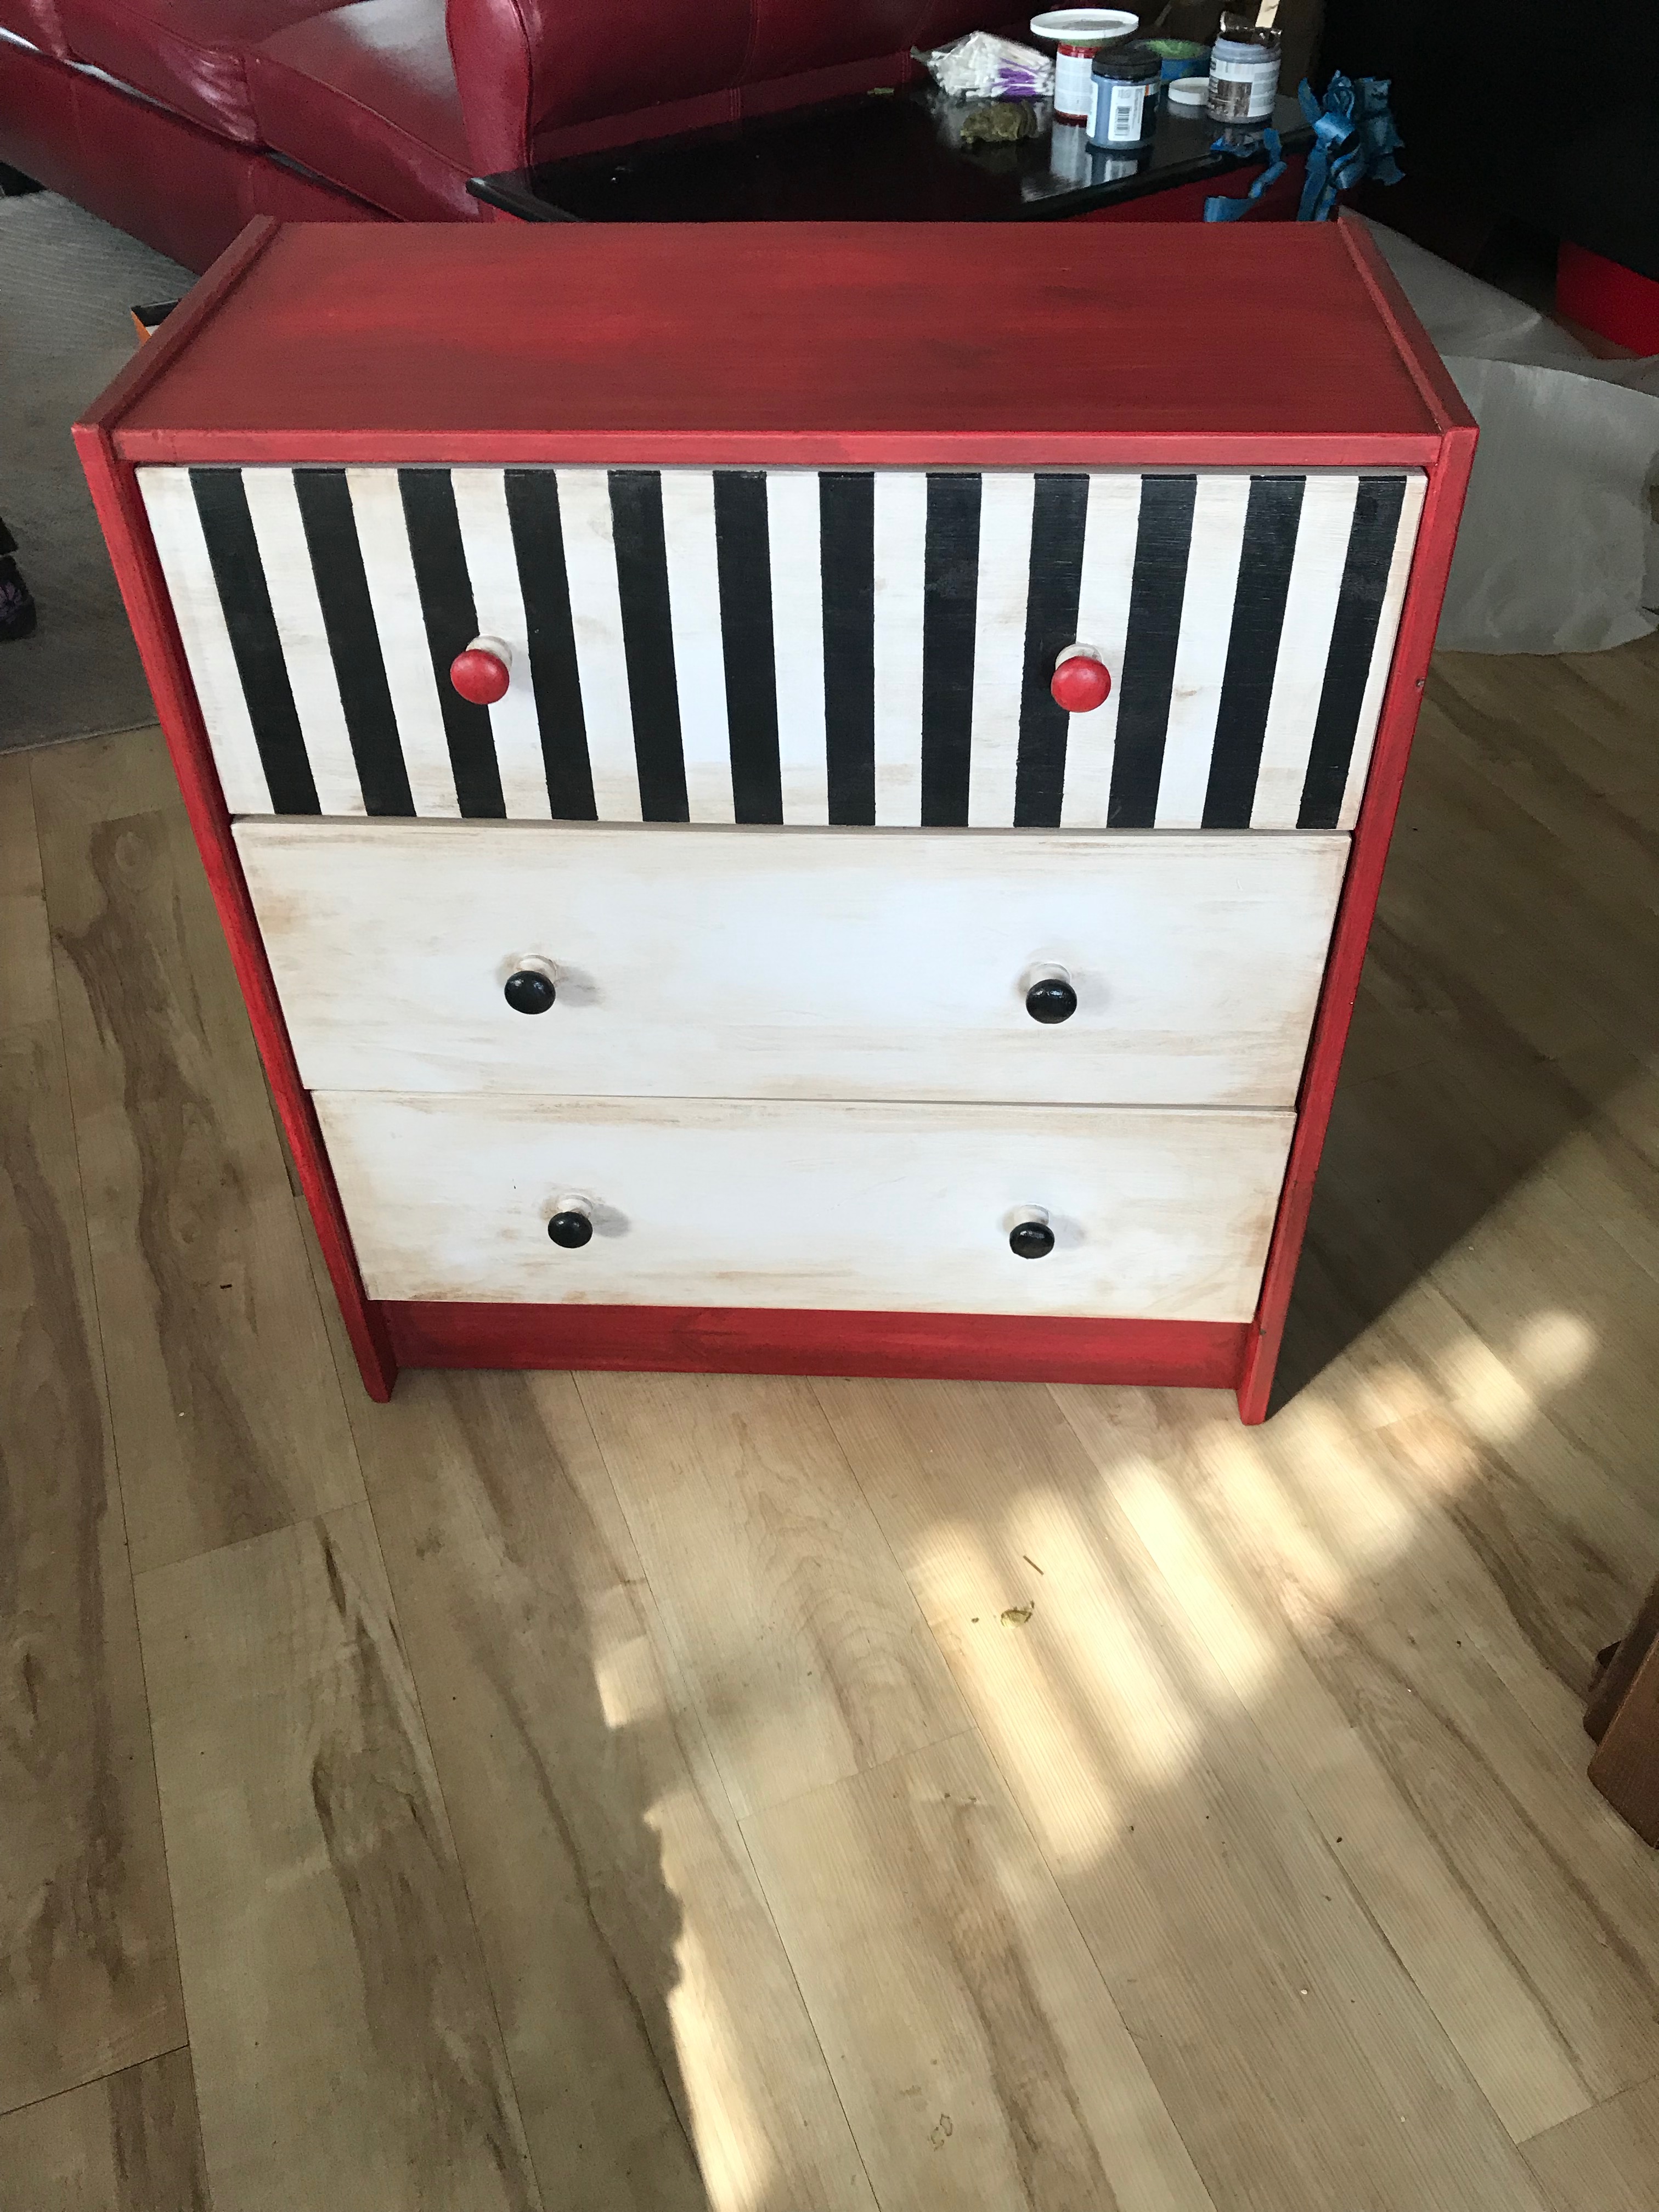
Now to age it a little with brown wax - I used a soft cloth to rub it on and then rub off the excess.
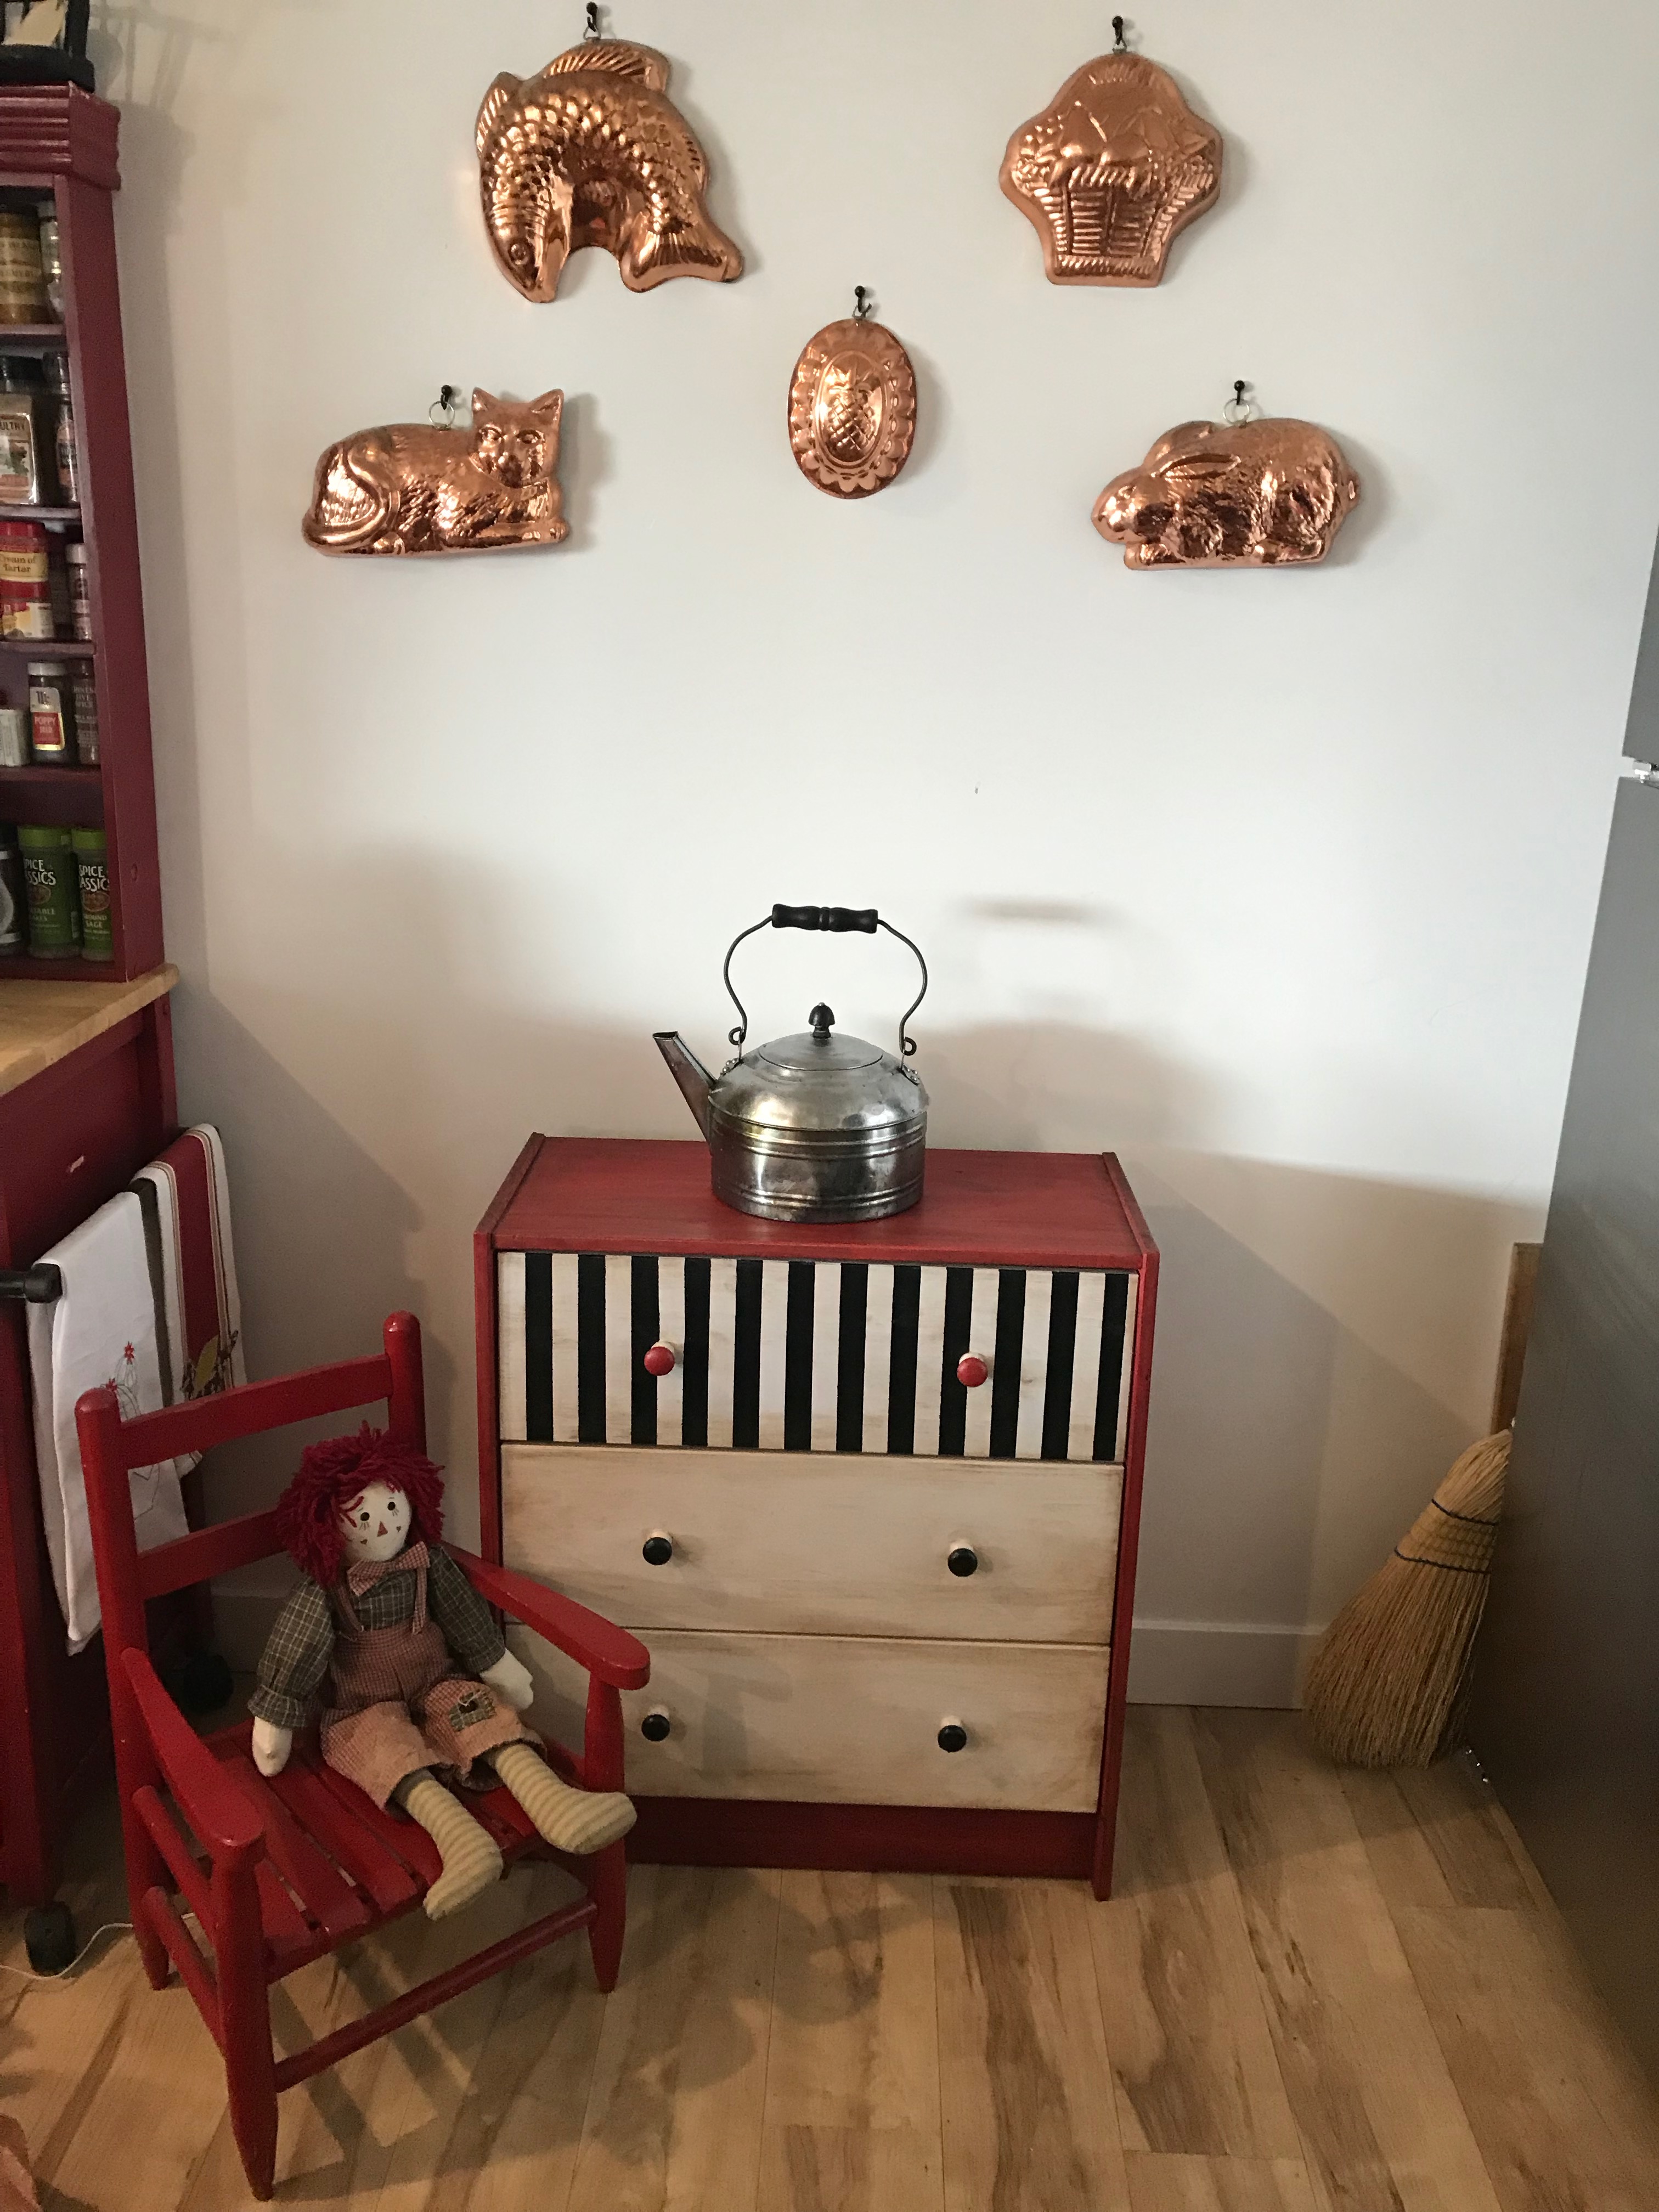
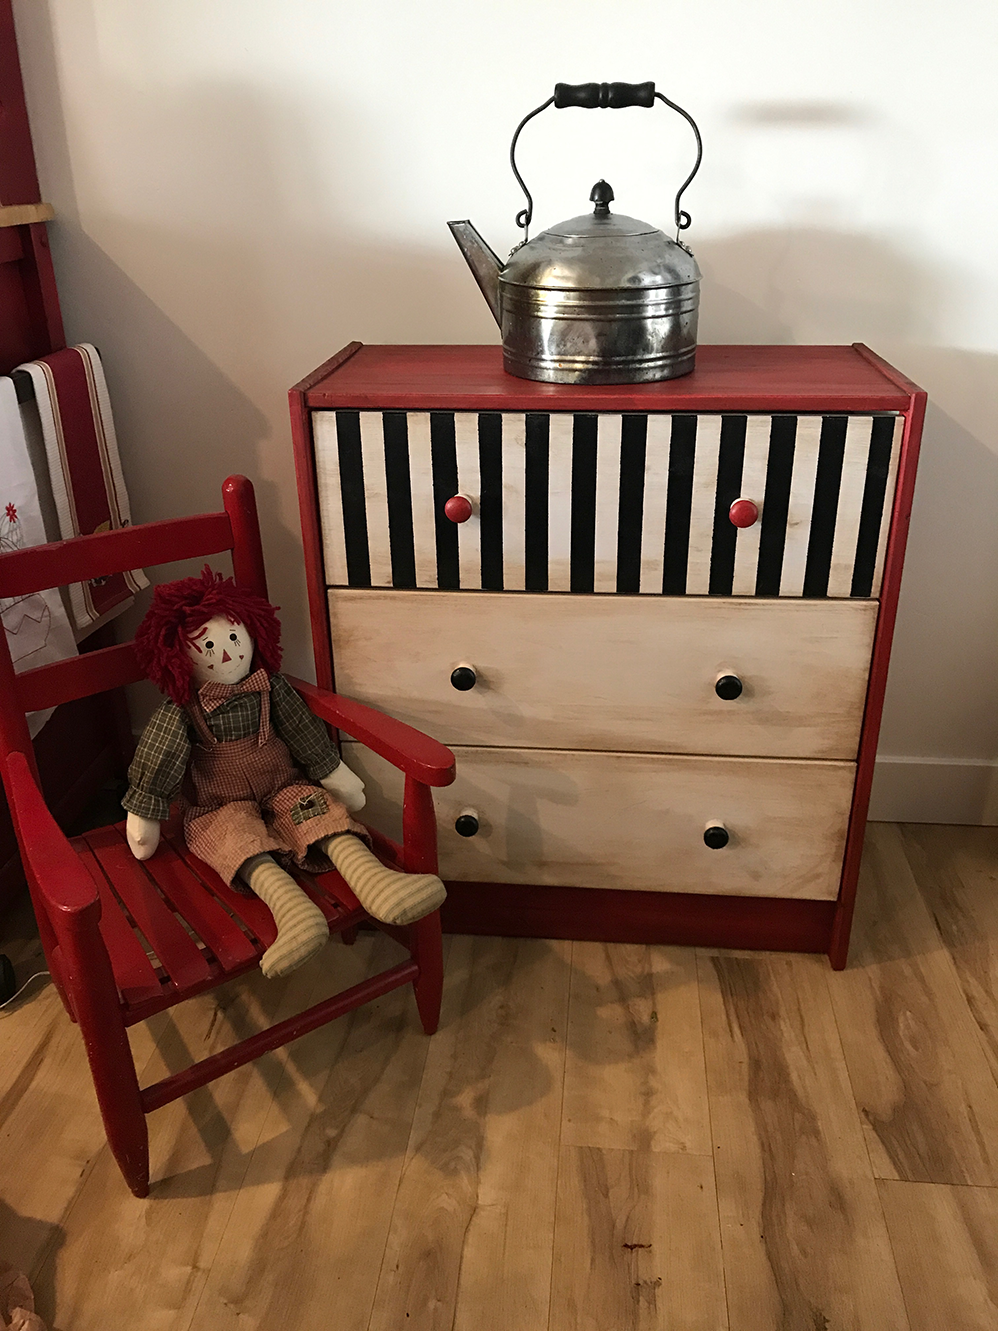
Finally, I put it in my kitchen with some fun accessories. I've had the little red chair for years and got that Raggedy Andy in Hannibal, Missouri at a gift shop. The old tea kettle is a family heirloom I usually keep on my stove, but it gets all spattered with grease, so this is a much better spot!
And here is a shot from a little farther back so you can see it beneath my copper jello mold collection. I put my potatoes in the top drawer, my empty glass bottles in the second drawer, and my paper grocery sacks in the bottom drawer.